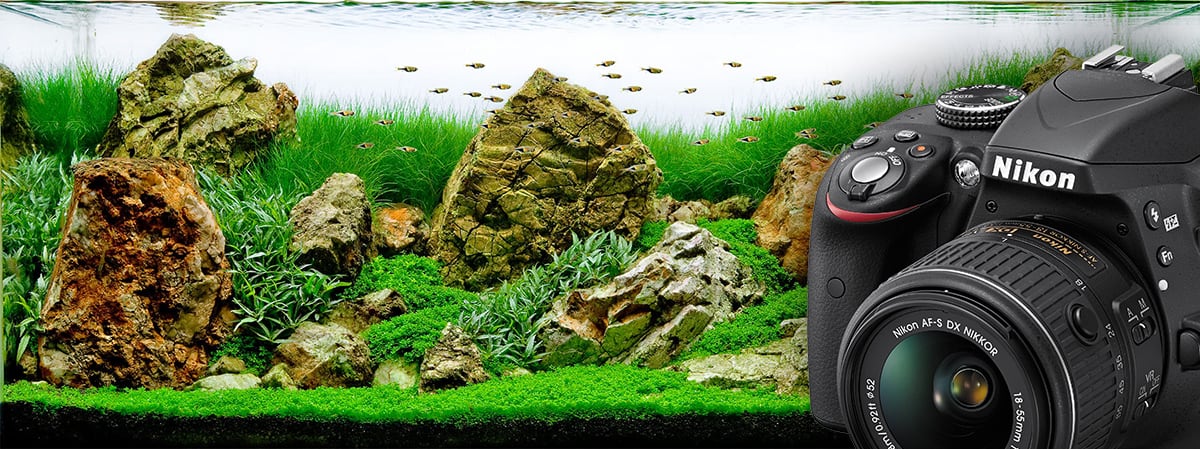
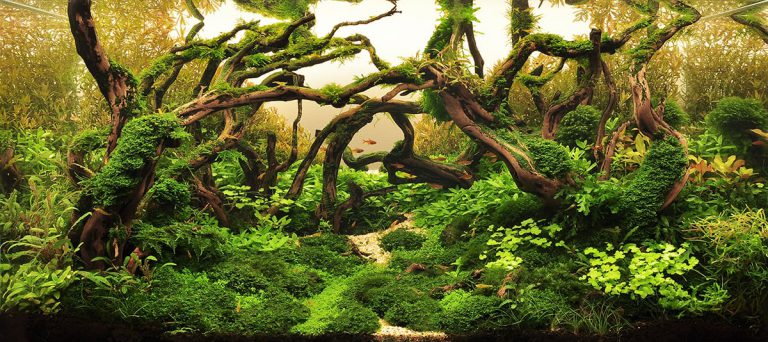
Aquascaping and aquarium photography (and photography in general) have one main area in common: they are both art forms that can take a lifetime to perfect. Remember that even the great Takashi Amano was working, until his death, to perfect his skills in both.
Why Is It So Important to Photograph Your Aquascape?
The arts of aquascaping and photography are intertwined. The careful and artistic use of photography can add to your aquascape feelings and sensations that just cannot be felt by looking at your aquarium.
When an aquascaper sets up a new layout in an aquarium, the time from initial concept to tank maturity can be anything up to 5 months or more. At this peak moment in time it is essential to capture the moment; both to grant more people to enjoy the artistry of your aquascape, and as a record for your memories.
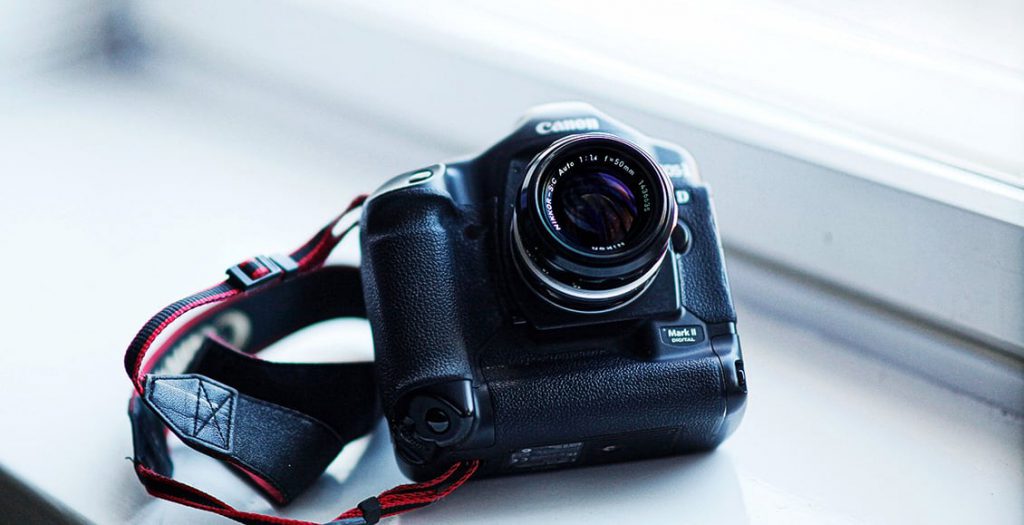
Using a DSLR Camera In Aquarium Photography
Why choose a DSLR camera over other digital cameras? Lots of reasons but mainly the ones below are worth mentioning:
Quality of the Image
The main reason why you should choose a DSLR over any other digital camera in aquarium photography is because DSLR cameras use much, much bigger image sensors; up to 25 times bigger! This larger image sensor means that DSLRs can shoot photographs with larger pixel sizes.
Read more about DSLR camera sensors.
You Can Adapt Them to Suit Your Needs
A DSLR camera investment will mean that you can take an impressive range of shots using just one camera by changing lenses; the camera you choose will be able to do more than just shoot aquascapes!
Purchasing a DSLR for your aquarium photography is a considerable investment, so being able to use it in a wide range of situations including to photograph your aquascape, makes your purchase a real investment.
Read more about DSLR camera lenses.
Retaining Value
While we are talking about your camera purchase as an investment, it is also worth mentioning here that a DSLR will generally hold its value considerably longer than, for example, a point and shoot camera.
When you purchase a DSLR camera, you will also need to purchases lenses to go with it. This is another area that makes the DSLR camera the perfect choice for a serious aquascaper.
If or when you decide to upgrade your camera, lenses are generally compatible with many other cameras, making your initial investment well worthwhile.
What You See is What You Get!
DSLR cameras have optical viewfinders. This is a great feature for when you are composing your shot, as you will be able to see exactly the photo you are taking when you take it.
Good Range of ISO Sensitivity Values
While you really only need one or two ISO numbers for aquarium photography, having the choice of such wide range of ISO numbers means that this is really the piece of equipment to invest in.
Manually Control the Shot
With a DSLR, you are able to completely control all of the settings manually. You can really take the shot you want with a DSLR!
Recording and Enhancing the Depth of Field
This is such an important consideration in aquarium photography. You will have spent months planning and implementing plans to create the illusion of depth and space in your aquarium that the last thing you want is to make it disappear in your photo shoot!
The DSLR is the camera that will allow you to take control of every setting to enhance the months of work you have put into your aquascape.
Find out more about the depth of field.
How to Prepare Your Planted Aquarium For The Photo Shoot
Why Light Is Important?
The correct lighting in a photograph is everything. Add a glass aquarium and water into the aquarium and you will begin to understand how important it is to fully understand how light effects your shot.
DSLR settings as recommended by the professionals at ADA:
- AP (apature priority) exposure mode
- ISO 800
- White balance set to automatic
- Aperture F8
- Turn on auto focus
Analyse Your Hardscape
One month before you are planning to carry out your photo shoot, have a good look at your planted tank. Concentrating on your hardscape for the moment, think about any fine-tuning you would like to complete. If you are planning on adding additional hardscaping then remember that these new pieces will need to be allowed time to acclimatize.
Plant Work
The first and most important thing to think about before you start any work on your plants is: do you know about the plants that are in your aquarium?
While you really should have researched thoroughly before planting them, if you are not sure about anything connected to their growing or trimming requirements, then now is the time to carry out this research and ensure you are caring for them correctly.
Some General Plant Advice:
- Stem plants will typically return to their prime seven to ten days after you have trimmed them.
- Mosses will commonly take between ten to twenty days to return to their perfect forms.
- Ferns, anubias, and other typically slow growing plants may, in reality, take weeks or even months (!)
Top Layers of Substrates
In a living, breathing aquarium, there will always be plant and fish debris. There will also always be slight movement of substrate. If you are going for the more natural look, don’t be tempted to make your aquarium look too immaculate.
Before you start to clean or to make any alterations to your substrate, think about what you are trying to achieve by taking a photograph of your aquascape. Are you trying to:
- Simply make a record of an aquascape you are particularly pleased with
- Convey a theme, mood, or feeling
- Portray a specific natural environment
If the design of your aquascape requires clean white sand, the best recommendation is to siphon out the top layer a week before you are due to take your photographs. This week will allow your planted aquarium to return to a more natural look, both in leveling and colour.
The foreground of your aquascape should be leaned and flattened two to three days before you take your photographs. In general aquascapers are not looking to create a wavy floor to their aquarium, so take care when flattening that you are smoothing the entire area equally.
Any aquarium algae that have appeared between the substrate and the tank’s glass can be easily removed at this point. Once you are happy with the substrate in your aquarium, use a siphon to extract all of the debris.
Water Management in your Planted Aquarium
A great piece of advice here is to complete a final 50% water change the day before your photo shoot. Remove as much debris as you can using a siphon, making sure you are not moving your hardscaping, or too much of your substrate.
Aquarium Background
While there are many areas that can make or break a quality photograph, failing to properly consider the background is a sure fire way of spoiling what could have been a stunning shot.
Make sure you have chosen a suitable background that will give you the stunning visual effect you are after. Three colours that generally give the best shots are: black, white, and blue. Do experiment though; other colours may really make your aquascape shine.
Fish
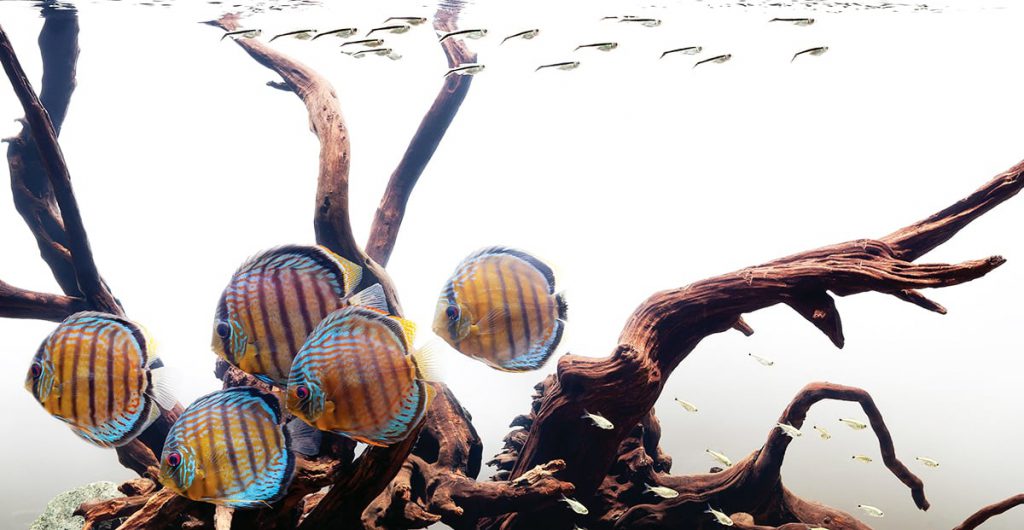
Colours and sizes are, when considering aquarium photography, the most important decisions to make when it comes to fish selection. A really classic aquascaping look for aquarium fish, are the schooling fish.
The timing that you chose for introducing fish into your aquascape is really up to you:
- After the tank has fully cycled – around one to two months
- Last few minutes before you take the photographs
- A few days before
You may be wondering why it could be a good idea to introduce your fish to the aquarium so last minute. There are two main reasons:
- When you first add fish they will swim in a much tighter school as they will be unfamiliar with your setup
- There is less cleaning to do!
Lighting Setup in Aquarium Photography
One of the most important things to remember when it comes to using flash in your photography, is to set it to shoot from directly above the aquarium.
If your flash shoots from in front of your aquarium then you will see reflections in your photography. An external flash will give the expert look to your shots, but if you do not have one, don’t worry.
Some ideas to try:
- Simple and inexpensive clip-on lights can really add mood to your scene
- Work on adjusting your background lighting as it will assist you in creating even more depth to your aquascape.
Photo Editing
As with any other photographic genres, in aquarium photography alike, some post-processing work will be done after the completion of your photo shoot.
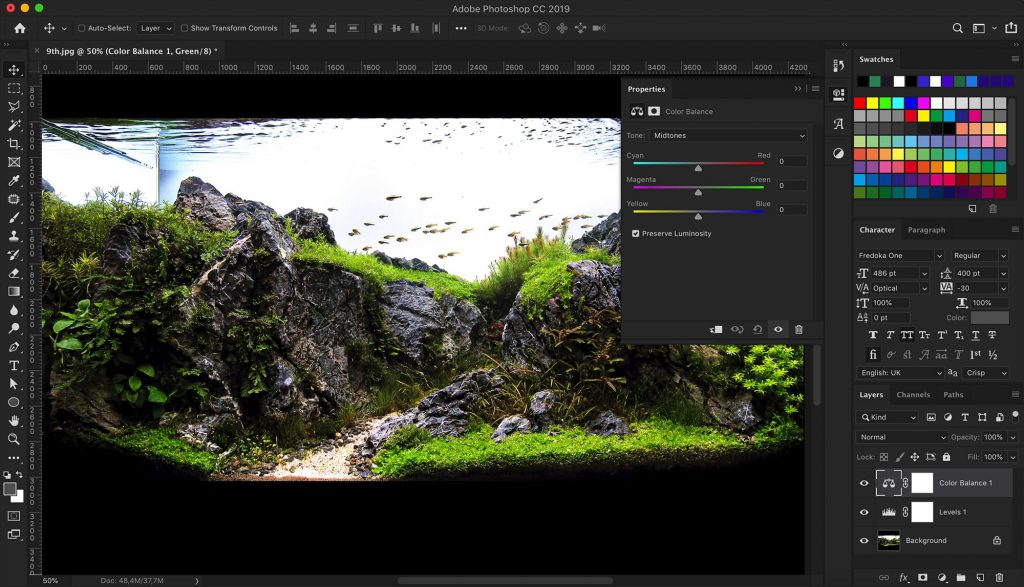
Once you have taken a range of photographs and chosen your favourite shot, it is now time to think about photo editing and retouching. This is your opportunity to correct colors that have taken badly in the picture and to enhance your focal point.
There are many free pieces of software that you can download that do a relatively decent job of photo editing, but if you are photographing to enter an aquascaping competition, it is well worth investing in software such as Adobe Lightroom or Photoshop. Both of these come with some great step-by-step guides for you to work through to really help you achieve the photographs you were after.
There are three main areas you will want to consider when you are editing your photographs:
Straightening and Cropping
When you first look at the photograph you have taken, you will probably notice instantly if the picture is slightly crooked or sloping. Any decent editing software will have a grid that you can super-impose while you are editing to make sure that your photograph is perfectly aligned.
Saturation and Brightness
Most editing software will give you a whole range of options when it comes to the saturation and brightness of your picture. If you are looking to darken the blacks and lighten up the whites, you want to open the contrast feature of the software to carry this out for you.
Sharpening and Shadows
Adjusting the sharpening and shadows in a photograph can really help to reveal more of your aquarium. This edit can be used to brighten and darken areas of your aquarium. Maybe your aquascape has a cave as a feature; use a shadow edit to enhance the darkness of the cave. If you want to add more definition to the edges of features, plants, and fish, then the sharpening feature is the one you want to use here.
Aquarium Photo Editing Considerations
While you are making all of these edits to your photographs it is really important to keep in mind that you are looking to create a scene in your aquascape that looks as natural as possible. Editing your photographs can create some amazing effects, but if it turns your shot into a completely unnatural picture then you will not win any aquascaping prizes!
Our 6 Top Tips And Tricks For Taking Great Aquascaping Photos
- Black clothing is professional attire for a reason! Remove any chance that what you are wearing is going to reflect light.
- Nighttime photography. Eliminate the chance of rough light in your pictures; take pictures at night!
- Hopefully this goes without saying, but make sure you have really given your aquarium a good clean. Any little flecks on the glass will be magnified the minute you take a photograph of your aquarium.
- To really optimize your shot, take control of your camera. Using the manual features will allow you to customize the shot and make it your own. There are many online guides for setting up your camera and camera shops are generally more than happy to guide you through your new purchase.
- Take everything out of your aquarium that you don’t want in the shot. Think about CO2 equipment, filters, and any other equipment that you may have.
- Turn your camera flash off! The in-built flash in any camera will create a burst of light that will bounce off of the aquarium glass and ruin your shot.
By following our suggestions and tips, you should now be able to take a really stunning photograph of your aquascape. Do remember: while at the end of the day, it is important that the look of your aquascape should be your main concern, the quality of the photos you submit is very important.
For a few more industry secrets and a great lesson from the absolute professionals in the world of aquascaping, have a look at this video from ADA:
Enjoyed this article? Spread the word by sharing it with your friends!

